Introduction
In the previous tutorial in this series, “How To Make Changes to the DOM,” we covered how to create, insert, replace, and remove elements from the Document Object Model (DOM) with built-in methods. By increasing your proficiency in manipulating the DOM, you are better able to utilize JavaScript’s interactive capabilities and modify web elements.
In this tutorial, we will learn how to further alter the DOM by modifying styles, classes, and other attributes of HTML element nodes. This will give you a greater understanding of how to manipulate essential elements within the DOM.
Review of Selecting Elements
Until recently, a popular JavaScript library called jQuery was most often used to select and modify elements in the DOM. jQuery simplified the process of selecting one or more elements and applying changes to all of them at the same time. In “How To Access Elements in the DOM,” we reviewed the DOM methods for grabbing and working with nodes in vanilla JavaScript.
To review, document.querySelector() and document.getElementById() are the methods that are used to access a single element. Using a div with an id attribute in the example below, we can access that element either way.
<div id="demo-id">Demo ID</div>
The querySelector() method is more robust in that it can select an element on the page by any type of selector.
// Both methods will return a single element
const demoId = document.querySelector('#demo-id');
Accessing a single element, we can easily update a part of the element such as the text inside.
// Change the text of one element
demoId.textContent = 'Demo ID text updated.';
However, when accessing multiple elements by a common selector, such as a specific class, we have to loop through all the elements in the list. In the code below, we have two div elements with a common class value.
<div class="demo-class">Demo Class 1</div>
<div class="demo-class">Demo Class 2</div>
We’ll use querySelectorAll() to grab all elements with demo-class applied to them, and forEach() to loop through them and apply a change. It is also possible to access a specific element with querySelectorAll() the same way you would with an array — by using bracket notation.
// Get a NodeList of all .demo elements
const demoClasses = document.querySelectorAll('.demo-class');

// Change the text of multiple elements with a loop
demoClasses.forEach(element => {
  element.textContent = 'All demo classes updated.';
});

// Access the first element in the NodeList
demoClasses[0];
This is one of the most important differences to be aware of when progressing from jQuery to vanilla JavaScript. Many examples of modifying elements will not explain the process of applying those methods and properties to multiple elements.
The properties and methods in this article will often be attached to event listeners in order to respond to clicks, hovers, or other triggers.
Note: The methods getElementsByClassName() and getElementsByTagName() will return HTML collections which do not have access to the forEach() method that querySelectorAll() has. In these cases, you will need to use a standard for loop to iterate through the collection.
Modifying Attributes
Attributes are values that contain additional information about HTML elements. They usually come in name/value pairs, and may be essential depending on the element.
Some of the most common HTML attributes are the src attribute of an img tag, the href of an a tag, class, id, and style. For a full list of HTML attributes, view the attribute list on the Mozilla Developer Network. Custom elements that are not part of the HTML standard will be prepended with data-.
In JavaScript, we have four methods for modifying element attributes:
| Method | Description | Example |
|---|---|---|
hasAttribute() |
Returns a true or false boolean |
element.hasAttribute('href'); |
getAttribute() |
Returns the value of a specified attribute or null |
element.getAttribute('href'); |
setAttribute() |
Adds or updates value of a specified attribute | element.setAttribute('href', 'index.html'); |
removeAttribute() |
Removes an attribute from an element | element.removeAttribute('href'); |
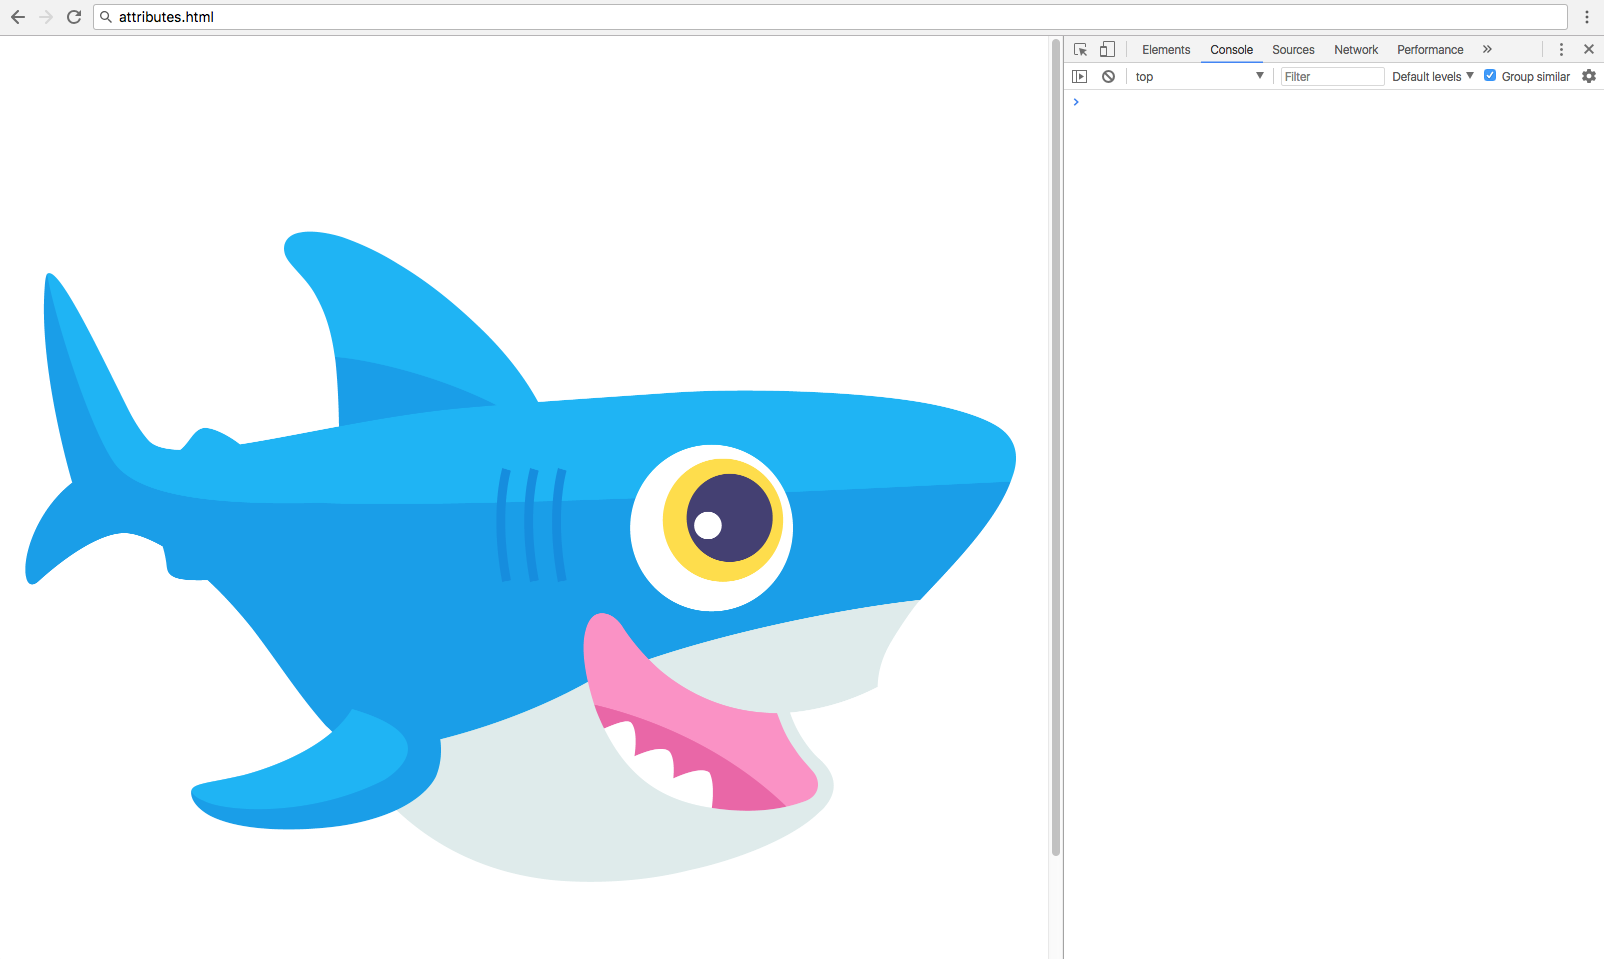
Let’s create a new HTML file with an img tag with one attribute. We’ll link to a public image available via a URL, but you can swap it out for an alternate local image if you’re working offline.
<!DOCTYPE html>
<html lang="en">
<body>

    <img src="https://js-tutorials.nyc3.digitaloceanspaces.com/shark.png">

</body>

</html>
When you load the above HTML file into a modern web browser and open the built-in Developer Console, you should see something like this:
Now, we can test all the attribute methods on the fly.
// Assign image element
const img = document.querySelector('img');

img.hasAttribute('src');                // returns true
img.getAttribute('src');                // returns "...shark.png"
img.removeAttribute('src');             // remove the src attribute and value
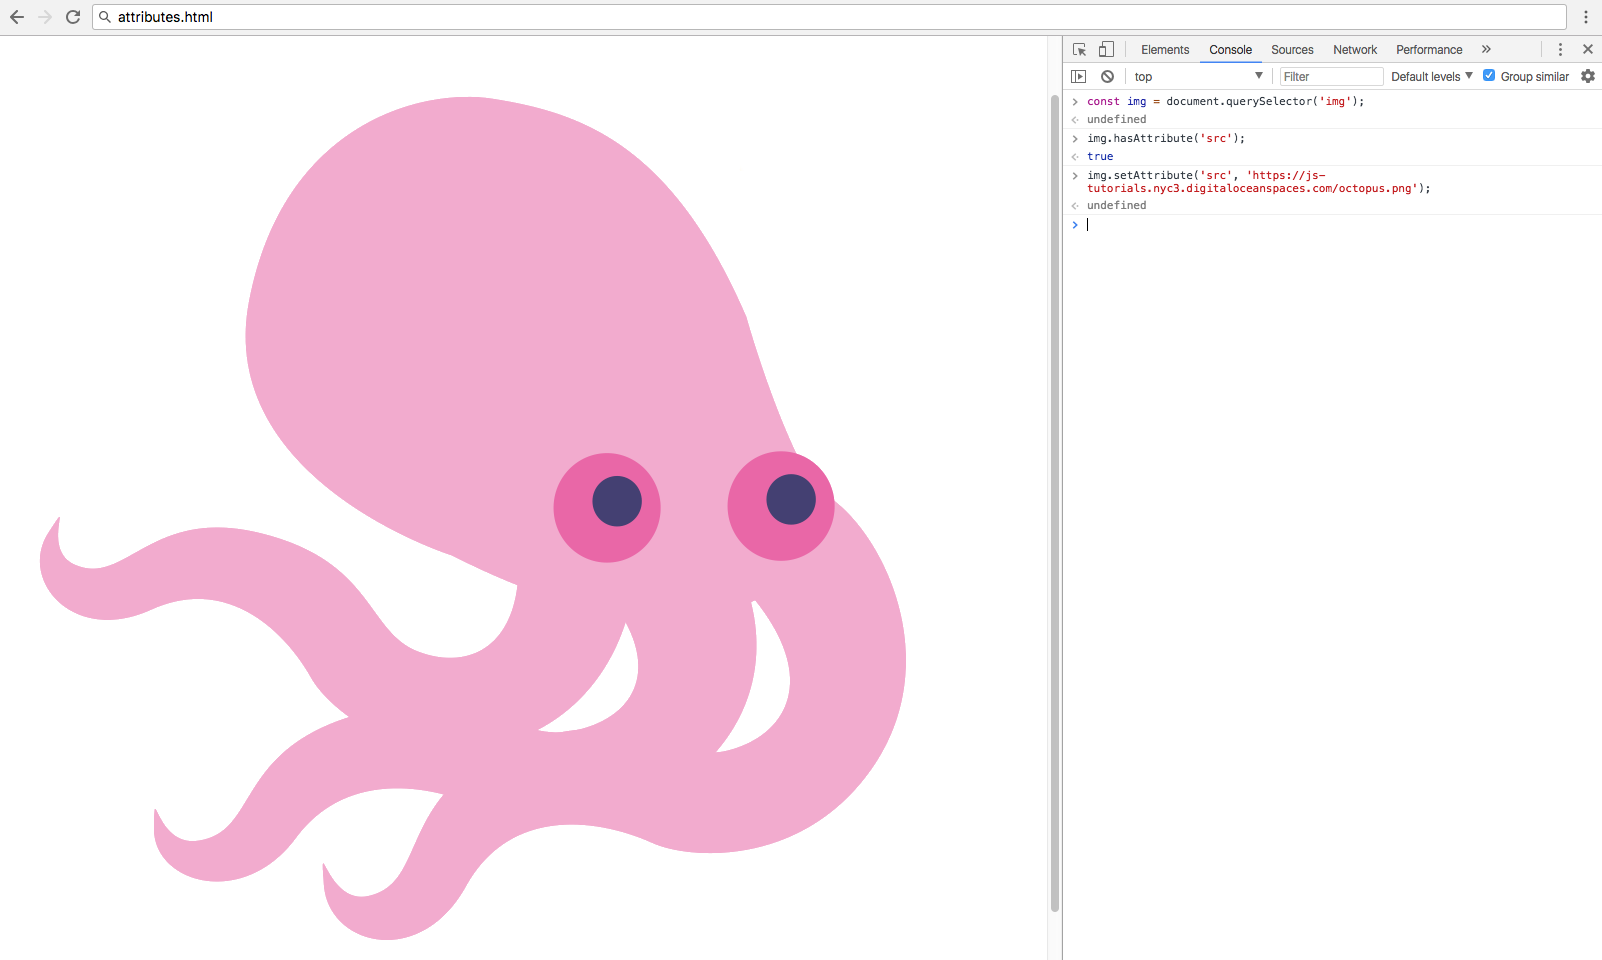
At this point, you will have removed the src attribute and value associated with img, but you can reset that attribute and assign the value to an alternate image with img.setAttribute():
img.setAttribute('src', 'https://js-tutorials.nyc3.digitaloceanspaces.com/octopus.png');
Finally, we can modify the attribute directly by assigning a new value to the attribute as a property of the element, setting the src back to the shark.png file
img.src = 'https://js-tutorials.nyc3.digitaloceanspaces.com/shark.png';
Any attribute can be edited this way as well as with the above methods.
The hasAttribute() and getAttribute() methods are usually used with conditional statements, and the setAttribute() and removeAttribute() methods are used to directly modify the DOM.
Modifying Classes
The class attribute corresponds to CSS class selectors. This is not to be confused with ES6 classes, a special type of JavaScript function.
CSS classes are used to apply styles to multiple elements, unlike IDs which can only exist once per page. In JavaScript, we have the className and classList properties to work with the class attribute.
| Method/Property | Description | Example |
|---|---|---|
className |
Gets or sets class value | element.className; |
classList.add() |
Adds one or more class values | element.classList.add('active'); |
classList.toggle() |
Toggles a class on or off | element.classList.toggle('active'); |
classList.contains() |
Checks if class value exists | element.classList.contains('active'); |
classList.replace() |
Replace an existing class value with a new class value | element.classList.replace('old', 'new'); |
classList.remove() |
Remove a class value | element.classList.remove('active'); |
We’ll make another HTML file to work with the class methods, with two elements and a few classes.
<!DOCTYPE html>
<html lang="en">

<style>
    body {
        max-width: 600px;
        margin: 0 auto;
        font-family: sans-serif;
    }
    .active {
        border: 2px solid blue;
    }

    .warning {
        border: 2px solid red;
    }

    .hidden {
        display: none;
    }

    div {
        border: 2px dashed lightgray;
        padding: 15px;
        margin: 5px;
    }
</style>

<body>

    <div>Div 1</div>
    <div class="active">Div 2</div>

</body>

</html>
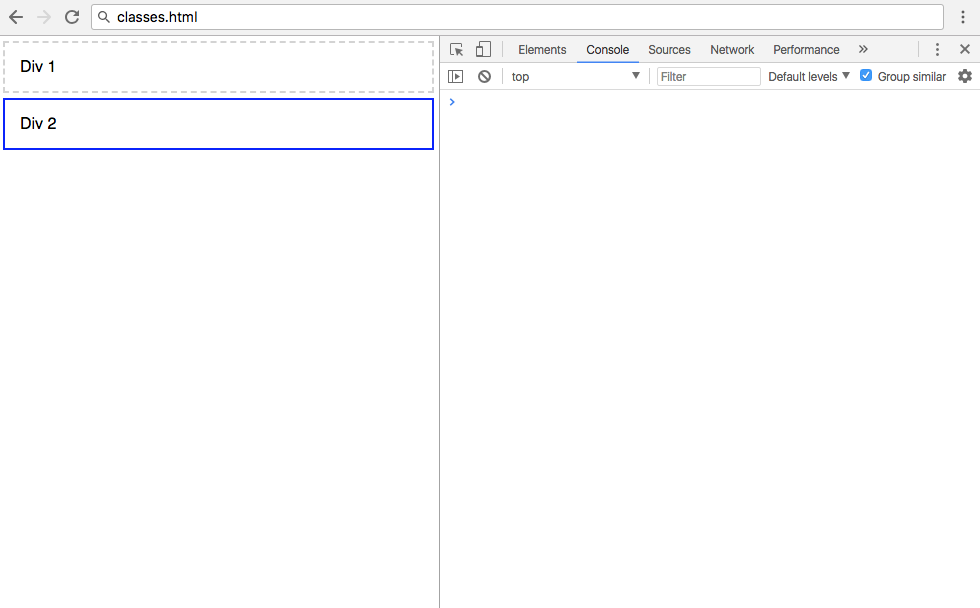
When you open the classes.html file into a web browser, you should receive a rendering that looks similar to the following:
The className property was introduced to prevent conflicts with the class keyword found in JavaScript and other languages that have access to the DOM. You can use className to assign a value directly to the class.
// Select the first div
const div = document.querySelector('div');
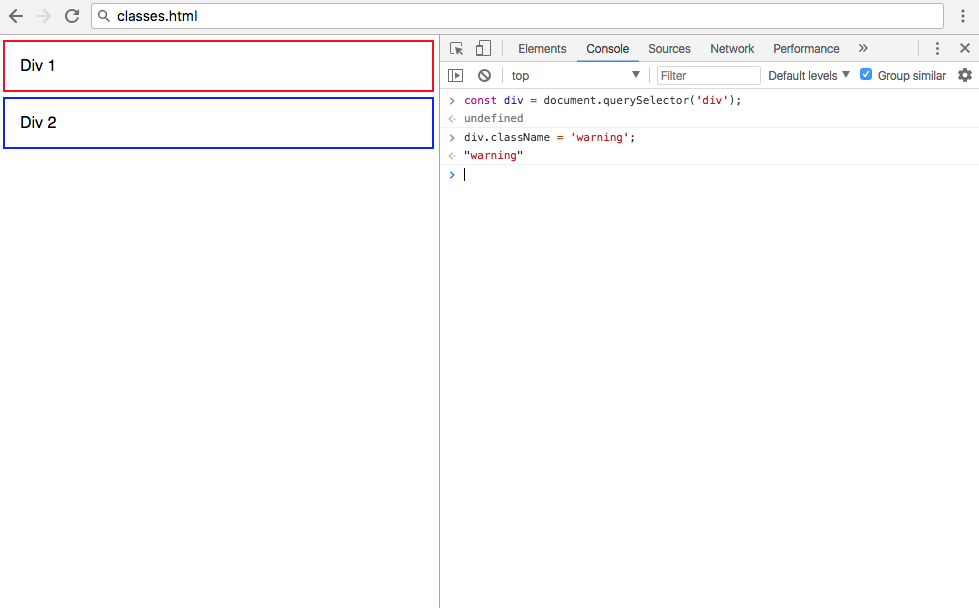
// Assign the warning class to the first div
div.className = 'warning';
We have assigned the warning class defined in the CSS values of classes.html to the first div. You’ll receive the following output:
Note that if any classes already exist on the element, this will override them. You can add multiple space delimited classes using the className property, or use it without assignment operators to get the value of the class on the element.
The other way to modify classes is via the classList property, which comes with a few helpful methods. These methods are similar to the jQuery addClass, removeClass, and toggleClass methods.
// Select the second div by class name
const activeDiv = document.querySelector('.active');

activeDiv.classList.add('hidden');                // Add the hidden class
activeDiv.classList.remove('hidden');             // Remove the hidden class
activeDiv.classList.toggle('hidden');             // Switch between hidden true and false
activeDiv.classList.replace('active', 'warning'); // Replace active class with warning class
After performing the above methods, your web page will look like this:

Unlike in the className example, using classList.add() will add a new class to the list of existing classes. You can also add multiple classes as comma-separated strings. It is also possible to use setAttribute to modify the class of an element.
Modifying Styles
The style property repesents the inline styles on an HTML element. Often, styles will be applied to elements via a stylesheet as we have done previously in this article, but sometimes we have to add or edit an inline style directly.
We will make a short example to demonstrate editing styles with JavaScript. Below is a new HTML file with a div that has some inline styles applied to display a square.
<!DOCTYPE html>
<html lang="en">

<body>

    <div style="height: 100px;
                width: 100px;
                border: 2px solid black;">Div</div>

</body>

</html>
When opened in a web browser, the styles.html will look something like this:
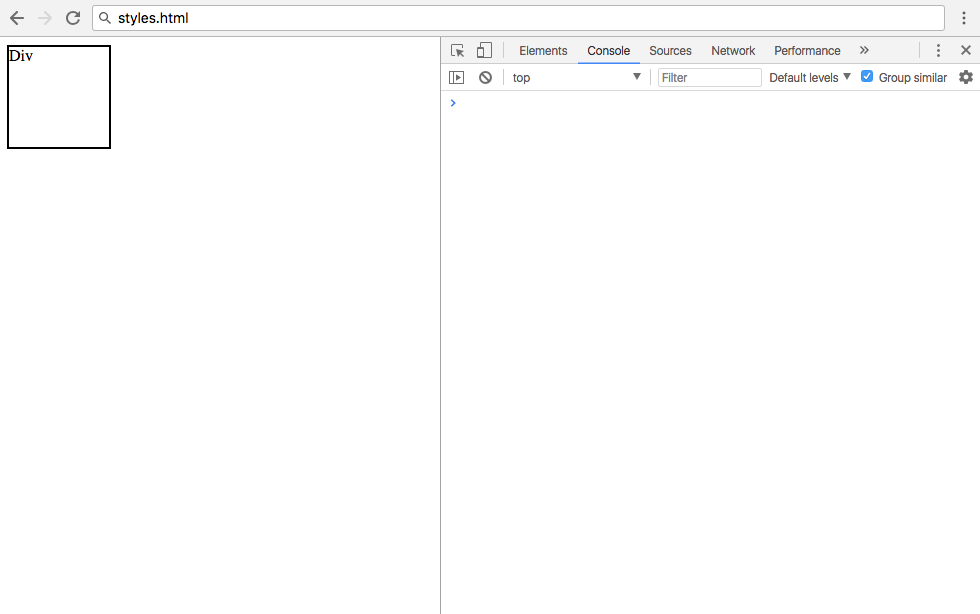
One option to edit the styles is with setAttribute().
// Select div
const div = document.querySelector('div');

// Apply style to div
div.setAttribute('style', 'text-align: center');
However, this will remove all existing inline styles from the element. Since this is likely not the intended effect, it is better to use the style attribute directly
div.style.height = '100px';
div.style.width = '100px';
div.style.border = '2px solid black';
CSS properties are written in kebab-case, which is lowercase words separated by dashes. It is important to note that kebab-case CSS properties cannot be used on the JavaScript style property. Instead, they will be replaced with their camelCase equivalent, which is when the first word is lowercase, and all subsequent words are capitalized. In other words, instead of text-align we will use textAlign for the JavaScript style property.
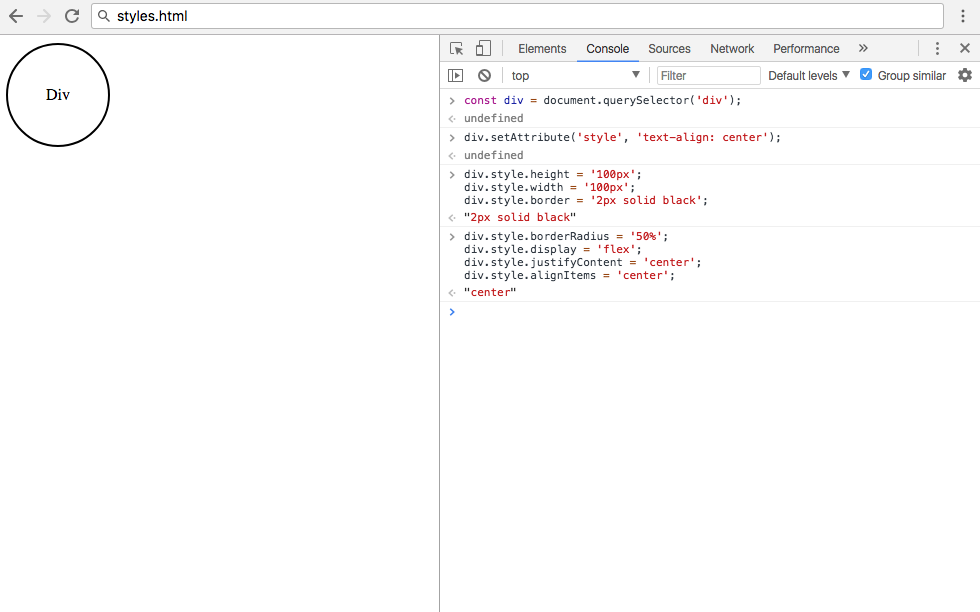
// Make div into a circle and vertically center the text
div.style.borderRadius = '50%';
div.style.display = 'flex';
div.style.justifyContent = 'center';
div.style.alignItems = 'center';
After completing the above style modifications, your final rendering of styles.html will show a circle:
If many stylistic changes are to be applied to an element, the best course of action is to apply the styles to a class and add a new class. However, there are some cases in which modifying the inline style attribute will be necessary or more straightforward.
Conclusion
HTML elements often have additional information assigned to them in the form of attributes. Attributes may consist of name/value pairs, and a few of the most common attributes are class and style.
In this tutorial, we learned how to access, modify, and remove attributes on an HTML element in the DOM using plain JavaScript. We also learned how to add, remove, toggle, and replace CSS classes on an element, and how to edit inline CSS styles. For additional reading, check out the documentation on attributes on the Mozilla Developer Network.
Source: DigitalOcean News How To Modify Attributes, Classes, and Styles in the DOM